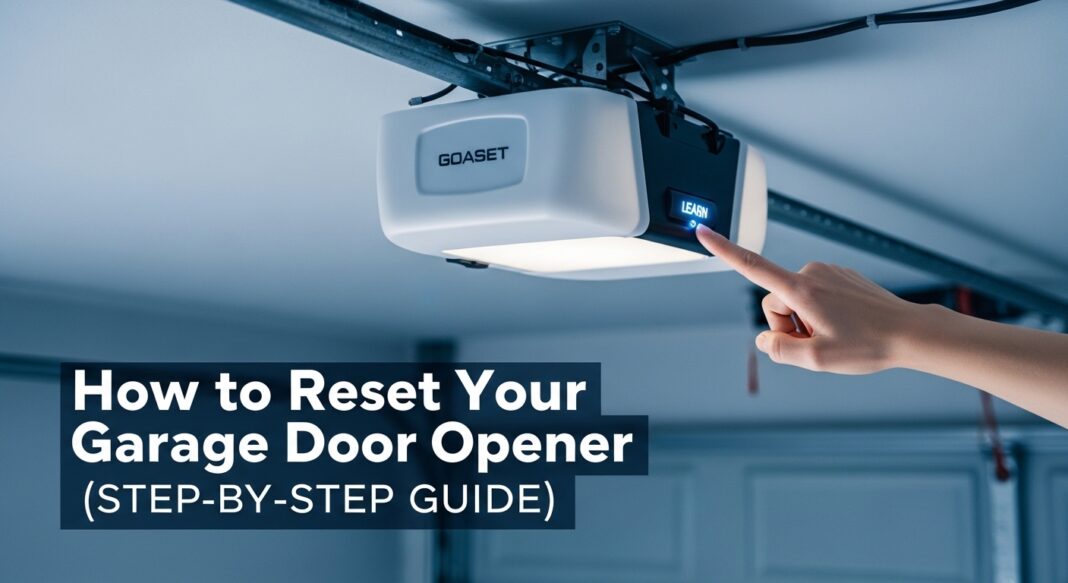
How to Reset Garage Door Opener (Introduction)
Imagine this: You just shifted to a new house, you just realized your garage remote is not working or suddenly out of nowhere opener stopped functioning. Sound familiar?
There’s a pretty good likelihood that a simple reset will get everything back on track before you make the call for service or worse, have to swap out the entire unit. Resetting a garage door opener is one of those simple home improvements that nearly every type of homeowner will never discover until they later need it.
In this guide, you’ll learn exactly how to reset garage door opener, whether it’s a LiftMaster, Chamberlain, Genie, or another brand. We’ll also cover how to reset your remote, troubleshoot stubborn openers, and answer the most common questions.
Let’s get into it.
Why You Might Need to Reset Your Garage Door Opener
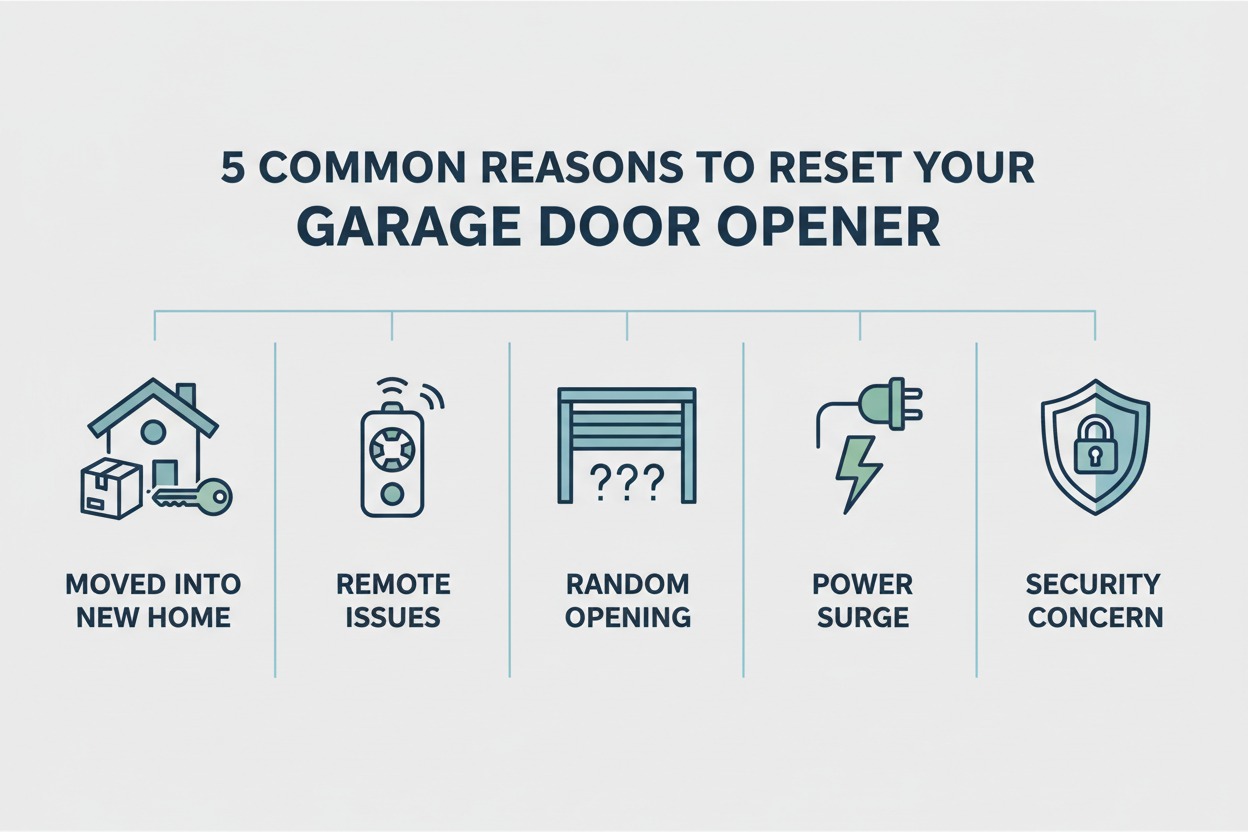
Before we dive into the steps, it helps to understand why a reset is often necessary. There are several common situations:
- You moved into a new home and want to clear the previous owner’s remote codes
- Your remote stopped working even after replacing the batteries
- The opener is behaving erratically — opening or closing on its own
- You added a new remote or keypad that won’t sync
- Power surges or outages scrambled the opener’s memory
- Security concerns — someone may have the old code
The International Door Association — the leading trade group for garage door professionals — recommends a full reset as the first troubleshooting step before any repair call. It can save you $100 or more in unnecessary service fees.
Pro Tip: Always perform a reset before buying a new remote or calling a technician. It can save you $100+ in unnecessary service calls.
What You’ll Need Before You Start
The good news? You don’t need any special tools. Here’s what to gather:
| Item | Why It’s Needed |
|---|---|
| A ladder | To reach the motor unit on the ceiling |
| Your remote or keypad | For reprogramming after the reset |
| The opener manual | For brand-specific button locations |
| New batteries (optional) | To rule out dead battery issues |
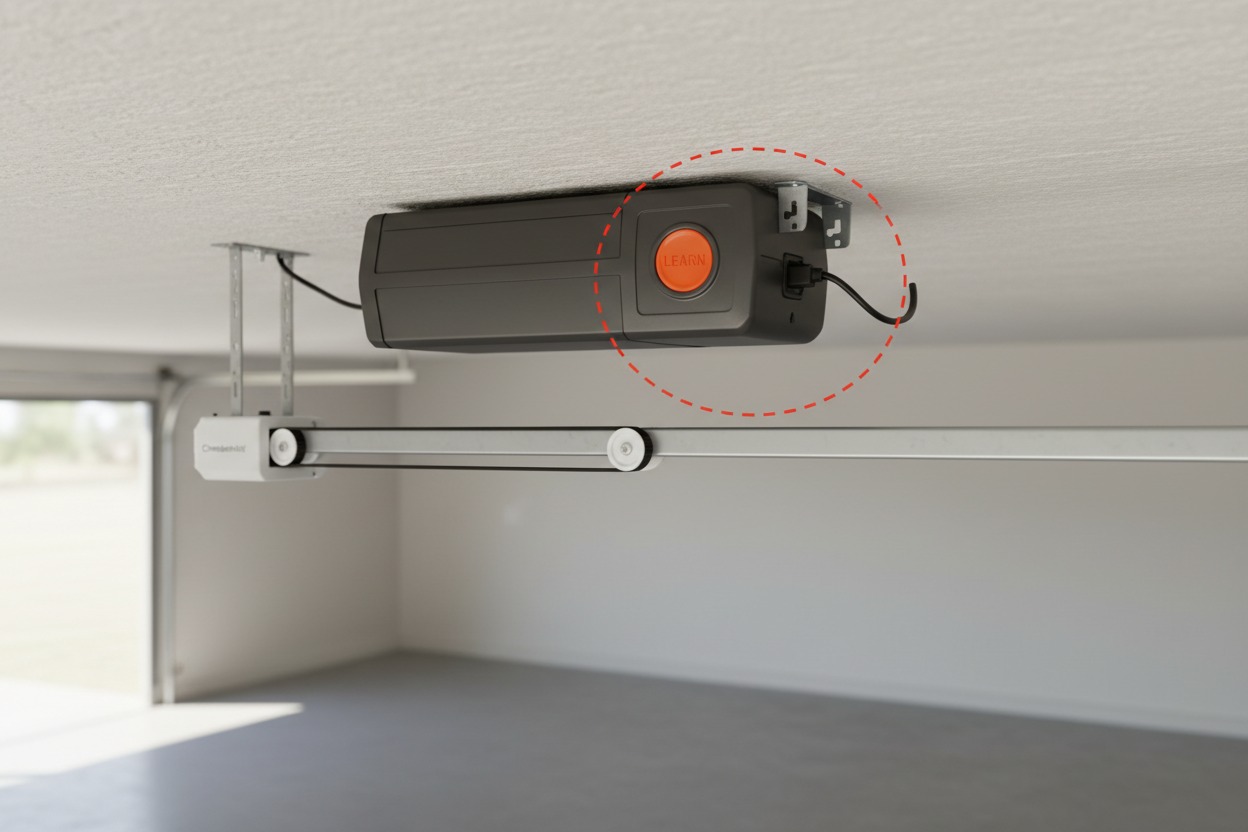
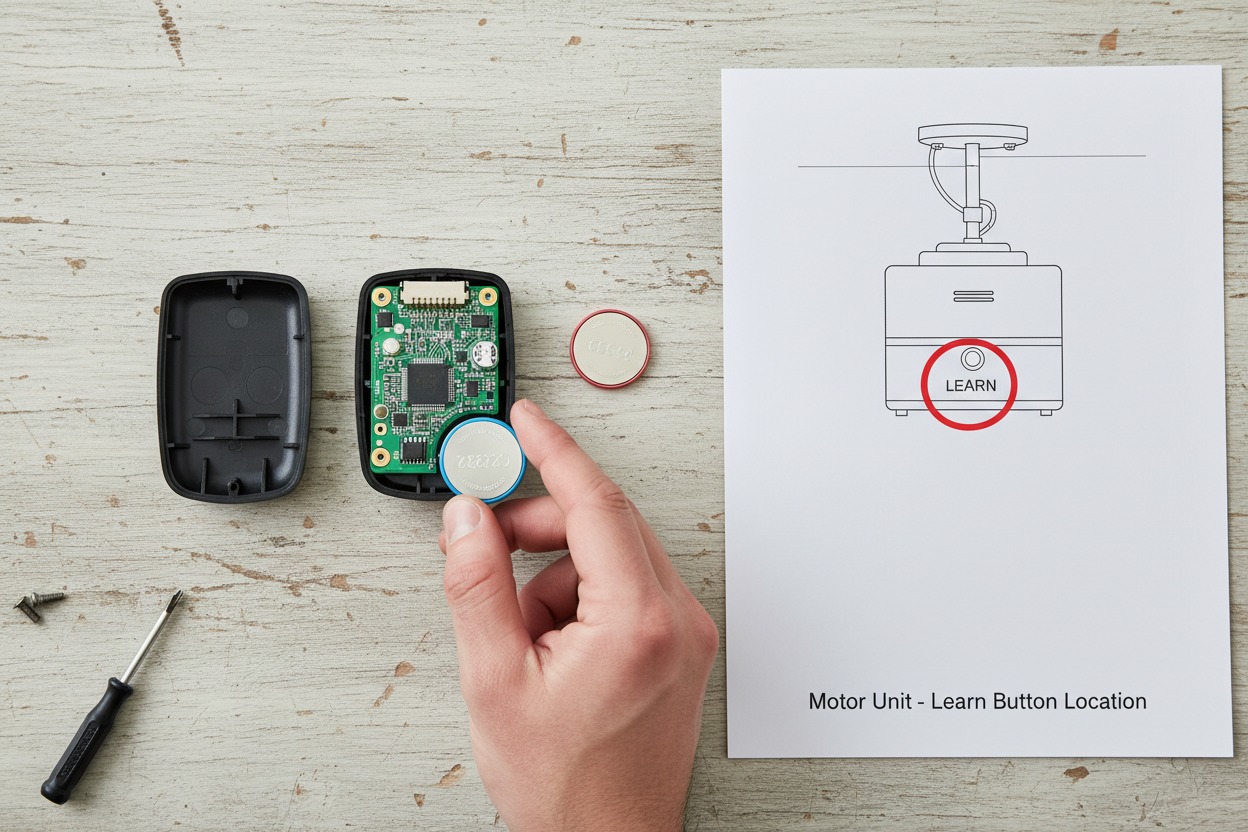
Most garage door openers have a “Learn” button (sometimes called “Program” or “Smart”) on the motor unit. That’s the main control point for clearing memory.
How to Reset a Garage Door Opener: General Steps
These steps apply to most modern openers. Brand-specific guides follow below.
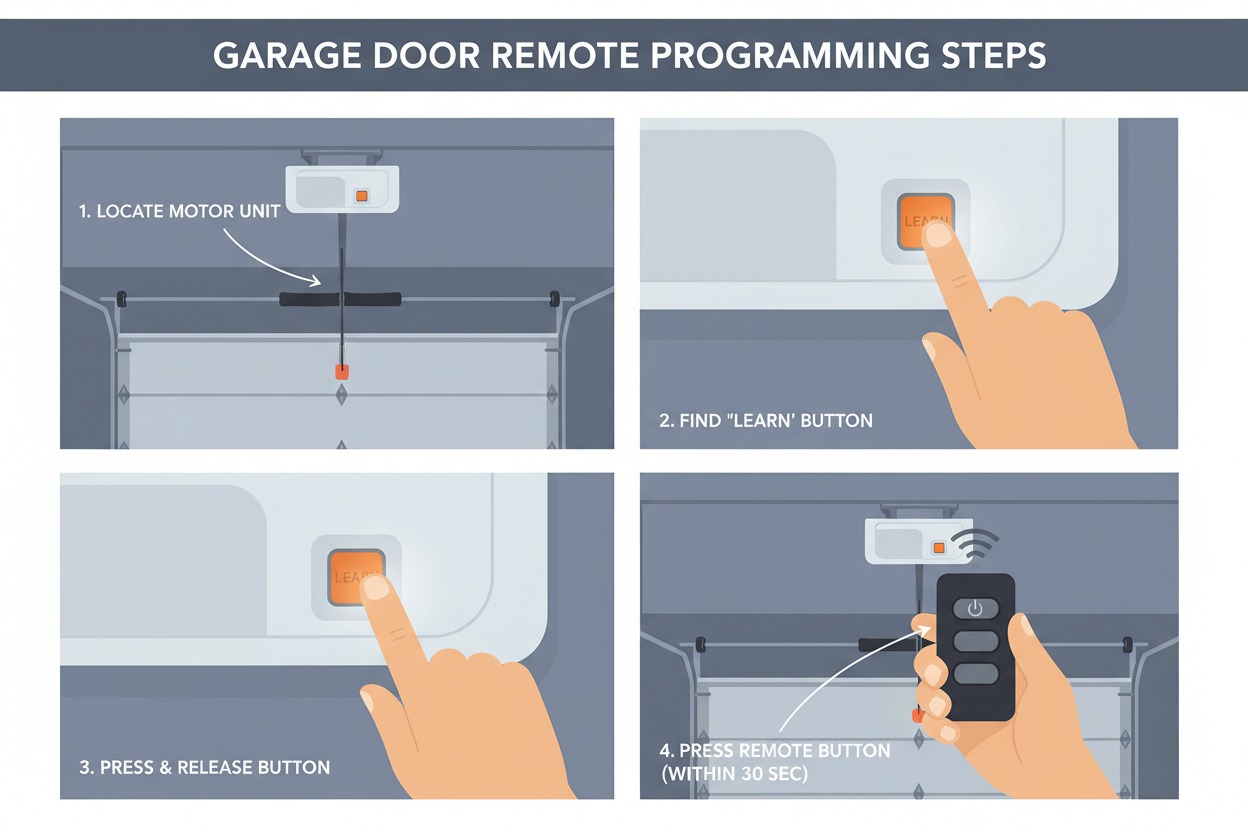
Step 1: Locate the Motor Unit
The motor unit is mounted on the ceiling of your garage, usually centered above the door. Use your ladder to get a clear view of the unit’s back or side panel.
Step 2: Find the “Learn” Button
Look for a small button — often colored yellow, purple, green, or orange depending on the brand and model. It’s typically next to a small LED light. This button controls your opener’s memory.
Step 3: Press and Hold to Clear Memory
Hold the Learn button for 6–10 seconds until the LED light turns off or blinks. This erases all previously stored remote and keypad codes.
Important: After clearing the memory, all existing remotes and keypads will stop working. You’ll need to reprogram them all.
Step 4: Reprogram Your Remote
Once cleared, press the Learn button briefly (about 1–2 seconds) until the LED turns on. Then, within 30 seconds, press the button on your remote that you want to program. Hold it until the motor unit light blinks or clicks — that signals successful pairing.
Step 5: Test the Remote
Stand within range and press the programmed remote button. The door should respond immediately. If it doesn’t, repeat the pairing step.
How to Reset a LiftMaster Garage Door Opener
LiftMaster is one of the most popular garage door opener brands in North America. Here’s how to reset it specifically.
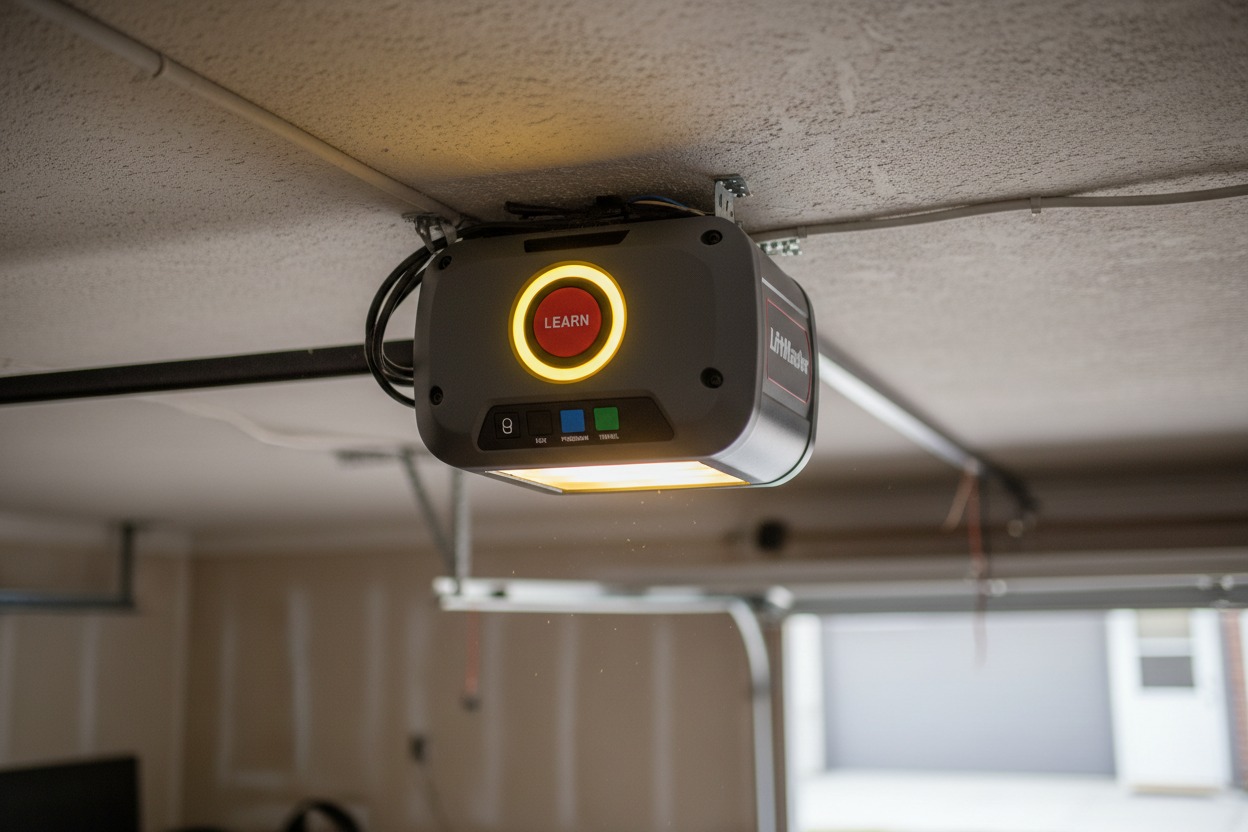
Locating the Learn Button on LiftMaster
On most LiftMaster models, the Learn button is on the back or side of the motor unit. It’s typically:
- Yellow on older 315 MHz models
- Purple on 390 MHz models
- Red/Orange on newer Security+ 2.0 models
LiftMaster Reset Steps
- Press and hold the Learn button for 6 seconds until the LED goes out
- Release the button — all programmed codes are now erased
- Press the Learn button briefly (LED turns on)
- Within 30 seconds, press and hold your remote button until the motor unit light blinks twice
- Test the remote
For LiftMaster models with myQ smart technology, you may also need to reset the Wi-Fi connection through the myQ app. Getting set up with myQ is covered step-by-step at myq.com/setup.
Expert Tip: LiftMaster’s Security+ 2.0 system uses rolling codes — meaning each press of the remote generates a new encrypted code. This makes it more secure but also means proper reprogramming is essential after a reset.
If you need further help, the official LiftMaster repair and maintenance page has model-specific guidance and a dealer locator tool.
How to Reset a Chamberlain Garage Door Opener
Chamberlain and LiftMaster are made by the same parent company, so many steps overlap — but there are key differences depending on the model generation.
Chamberlain Learn Button Colors
| Button Color | Frequency | Compatible Remotes |
|---|---|---|
| Yellow | 390 MHz | Older Chamberlain remotes |
| Purple | 315 MHz | Mid-generation models |
| Orange | 315 MHz | Newer Security+ 2.0 models |
| Green | 390 MHz | Some regional models |
Chamberlain Reset Steps
- Locate the Learn/Program button on the motor unit
- Hold it for 6–10 seconds until the LED turns off completely
- Release — memory is now cleared
- Briefly press the Learn button again
- Press your remote button within 30 seconds — hold until the unit blinks or clicks
- Test the door
For model-specific help, Chamberlain’s official support page has guides sorted by product type. You can also reach their technical support team at 1-800-528-5880 (Mon–Fri 8 am–9 pm ET, Sat 10 am–7 pm ET).
How to Reset a Genie Garage Door Opener
Genie openers use a proprietary system called Intellicode — a rolling-code technology that generates a new access code with every remote press for added security.
Genie Reset Steps
- Locate the Learn Code button on the back of the motor unit (usually a small square button with an LED)
- Press and hold it for 10 seconds until the LED flashes — this clears all codes
- For older Genie models (pre-Intellicode), you may see a series of DIP switches instead. Toggle all switches off, then back on, to reset
- To reprogram: press the Learn Code button once, then, within 30 seconds, press your Genie remote button 3 times
- The LED will blink to confirm successful programming
Genie Tip: If your Genie opener uses DIP switches (common on models from the 1990s to early 2000s), the remote must have matching DIP switch settings. Genie’s product support page has owner’s manuals and programming guides for every model. For a quick walkthrough of common issues, check their troubleshooting guide.

How to Reset a Garage Door Opener Remote
Sometimes you don’t need to reset the entire opener — you just need to reprogram or reset the remote. This is faster and doesn’t erase other remotes already in the system.
Steps to Reset and Reprogram a Remote
- Check the battery first — a dead battery is the #1 cause of remote failure. Most remotes use a CR2032 or similar coin battery
- Erase the remote from the opener’s memory (optional): hold the Learn button on the motor for 6 seconds to clear all remotes, then reprogram
- Pair the remote: press the Learn button briefly on the motor unit, then press the remote button within 30 seconds
Universal Remotes
If your original remote is lost or broken, a universal remote can be programmed to work with most major brands. Chamberlain’s remote controls page lists compatible universal options that work with LiftMaster, Chamberlain, and many other openers.
Troubleshooting: When the Reset Doesn’t Work
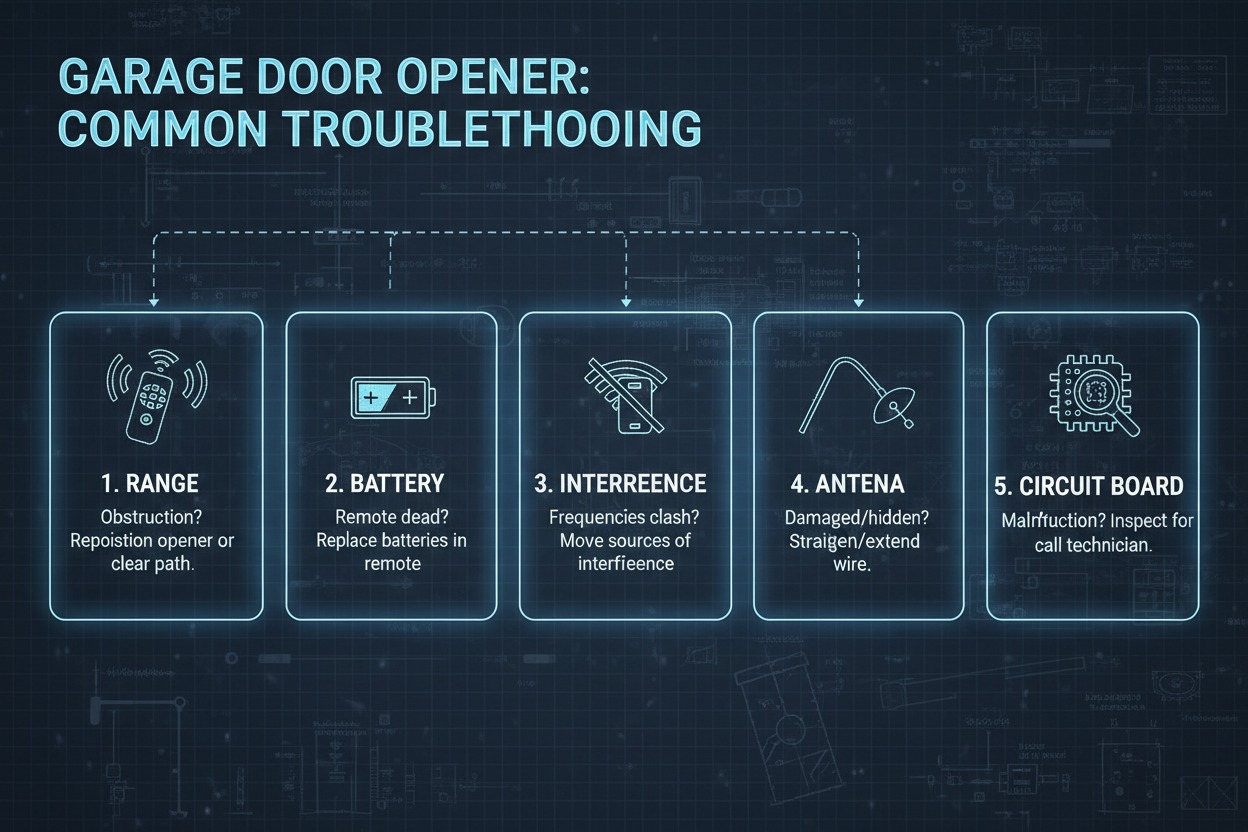
If the reset didn’t solve your problem, here are the most common culprits:
1. Remote Is Too Far from the Motor
Most openers have a range of 100–300 feet. Stand closer and try again.
2. Dead or Weak Battery in Remote
Replace the battery even if the LED still lights up — a weak battery may not send a strong enough signal.
3. Radio Frequency Interference
LED bulbs, baby monitors, and wireless networks can interfere with opener signals. This is a well-documented issue — the Chamberlain myQ community forum has confirmed cases where common LED bulbs completely blocked remote signals. Chamberlain even manufactures a dedicated RF-shielded garage LED bulb specifically designed to eliminate this interference.
4. Damaged Antenna
The antenna wire hanging from the motor unit must be fully extended and unobstructed. A bent or cut antenna severely reduces range.
5. Circuit Board Failure
If none of the above works, the logic board may need replacement. This typically costs $50–$150 in parts. For internal component work, it’s safest to contact an authorized professional — use the International Door Association’s dealer finder to locate a certified technician near you.
Expert Tips: Getting the Most From Your Garage Door Opener
These insights are drawn from manufacturer guidance and industry best practices:
- Reset annually — Clear and reprogram your opener codes once a year as a security best practice, especially after guests or contractors have had access
- Use the vacation lock feature — Many modern openers (LiftMaster, Chamberlain) include a “vacation lock” that disables all remotes while you’re away
- Label your remotes — Use colored tape or labels to distinguish between vehicles, making reprogramming easier
- Update firmware — If your opener connects to Wi-Fi via myQ, check for firmware updates in the app regularly
- Keep the antenna clear — Never coil or cut the antenna wire hanging from the motor unit
- Oil the moving parts — The NAHB’s routine home maintenance guide recommends lubricating garage door moving parts every three months to prevent wear and noisy operation
Garage Door Opener Reset: Brand Comparison Table
| Brand | Learn Button Color | Hold Time to Clear | Reprogram Time Window | Smart Home Compatible |
|---|---|---|---|---|
| LiftMaster | Yellow / Orange / Purple | 6 seconds | 30 seconds | Yes (myQ) |
| Chamberlain | Yellow / Orange / Green | 6–10 seconds | 30 seconds | Yes (myQ) |
| Genie | No color standard | 10 seconds | 30 seconds | Yes (Aladdin Connect) |
| Craftsman | Yellow / Purple | 6 seconds | 30 seconds | Some models |
| Linear | Varies | 6 seconds | 30 seconds | Limited |
FAQs: How to Reset a Garage Door Opener
1. Will resetting my garage door opener erase all my remotes?
Yes. Holding the Learn button for 6–10 seconds clears all programmed remotes and keypads from memory. You’ll need to reprogram each one individually after the reset. This is a useful security feature when you move into a new home.
2. How do I reset my garage door opener without the Learn button?
Older openers (pre-1993) typically use DIP switches — small rows of binary switches inside both the remote and motor unit that must match. To “reset,” flip all switches to new matching positions on both devices. Genie’s product support page has downloadable manuals for these older models.
3. Why won’t my garage door opener remote work after resetting?
The most common causes are standing too far away, a dead battery, or not completing the reprogramming within the 30-second window. Also, check whether any new LED bulbs were recently installed — this is a documented cause of remote signal disruption and an easy fix.
4. How do I reset my LiftMaster garage door opener to factory settings?
There’s no single “factory reset” button on most LiftMaster models. Holding the Learn button for 6+ seconds clears all remote codes, which covers the main need. For Wi-Fi and myQ settings, use the myQ app sign-in page to manage your account reset. The LiftMaster repair page also connects you with authorized dealers for more complex issues.
5. How often should I reset my garage door opener?
There’s no required schedule, but most security experts suggest resetting when you move, after a break-in, or at least once a year. The National Association of Home Builders recommends annual checks of the garage door system as part of standard home maintenance.
Conclusion
Resetting your garage door opener is genuinely one of the easiest home maintenance tasks you can do yourself — no tools, no experience required. Whether you have a LiftMaster, Chamberlain, Genie, or another brand, the core process is the same: find the Learn button, hold it to clear memory, and reprogram your remotes.
The 10 minutes you spend on this could save you a service call, strengthen your home’s security, or finally fix that stubborn remote that’s been driving you up the wall.
Start with your brand’s official support page:
Still having trouble? Find a certified technician through the International Door Association dealer network.
Have questions about your specific model? Drop them in the comments — we respond to every one.
Also Read: How Long Does It Take to Fill a Cavity? Everything You Need to Know